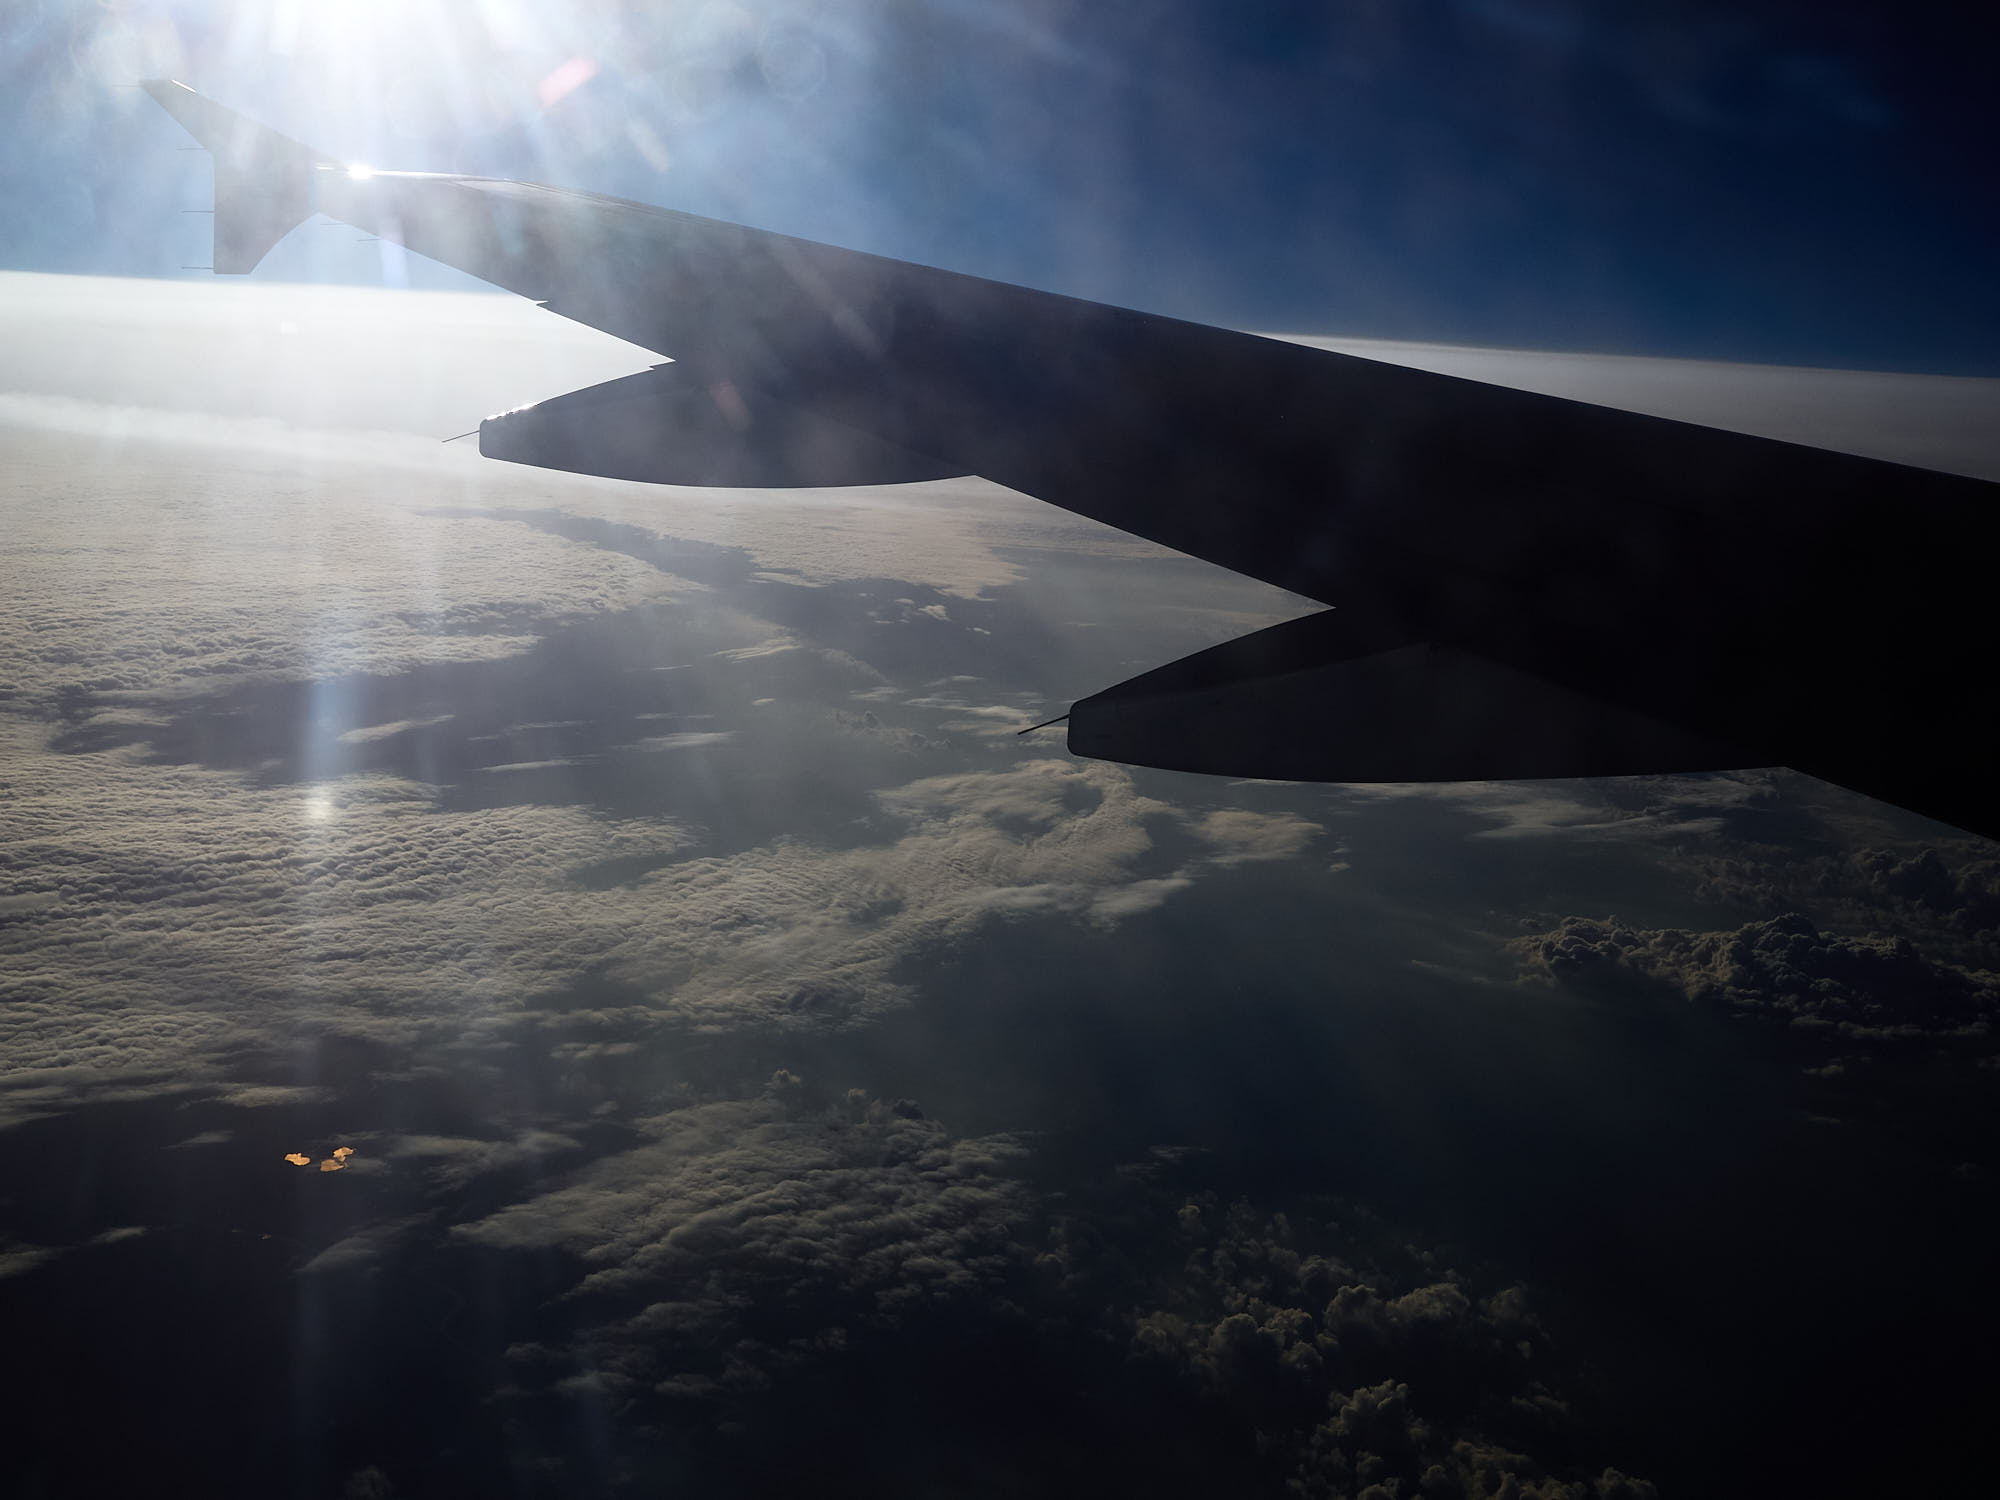
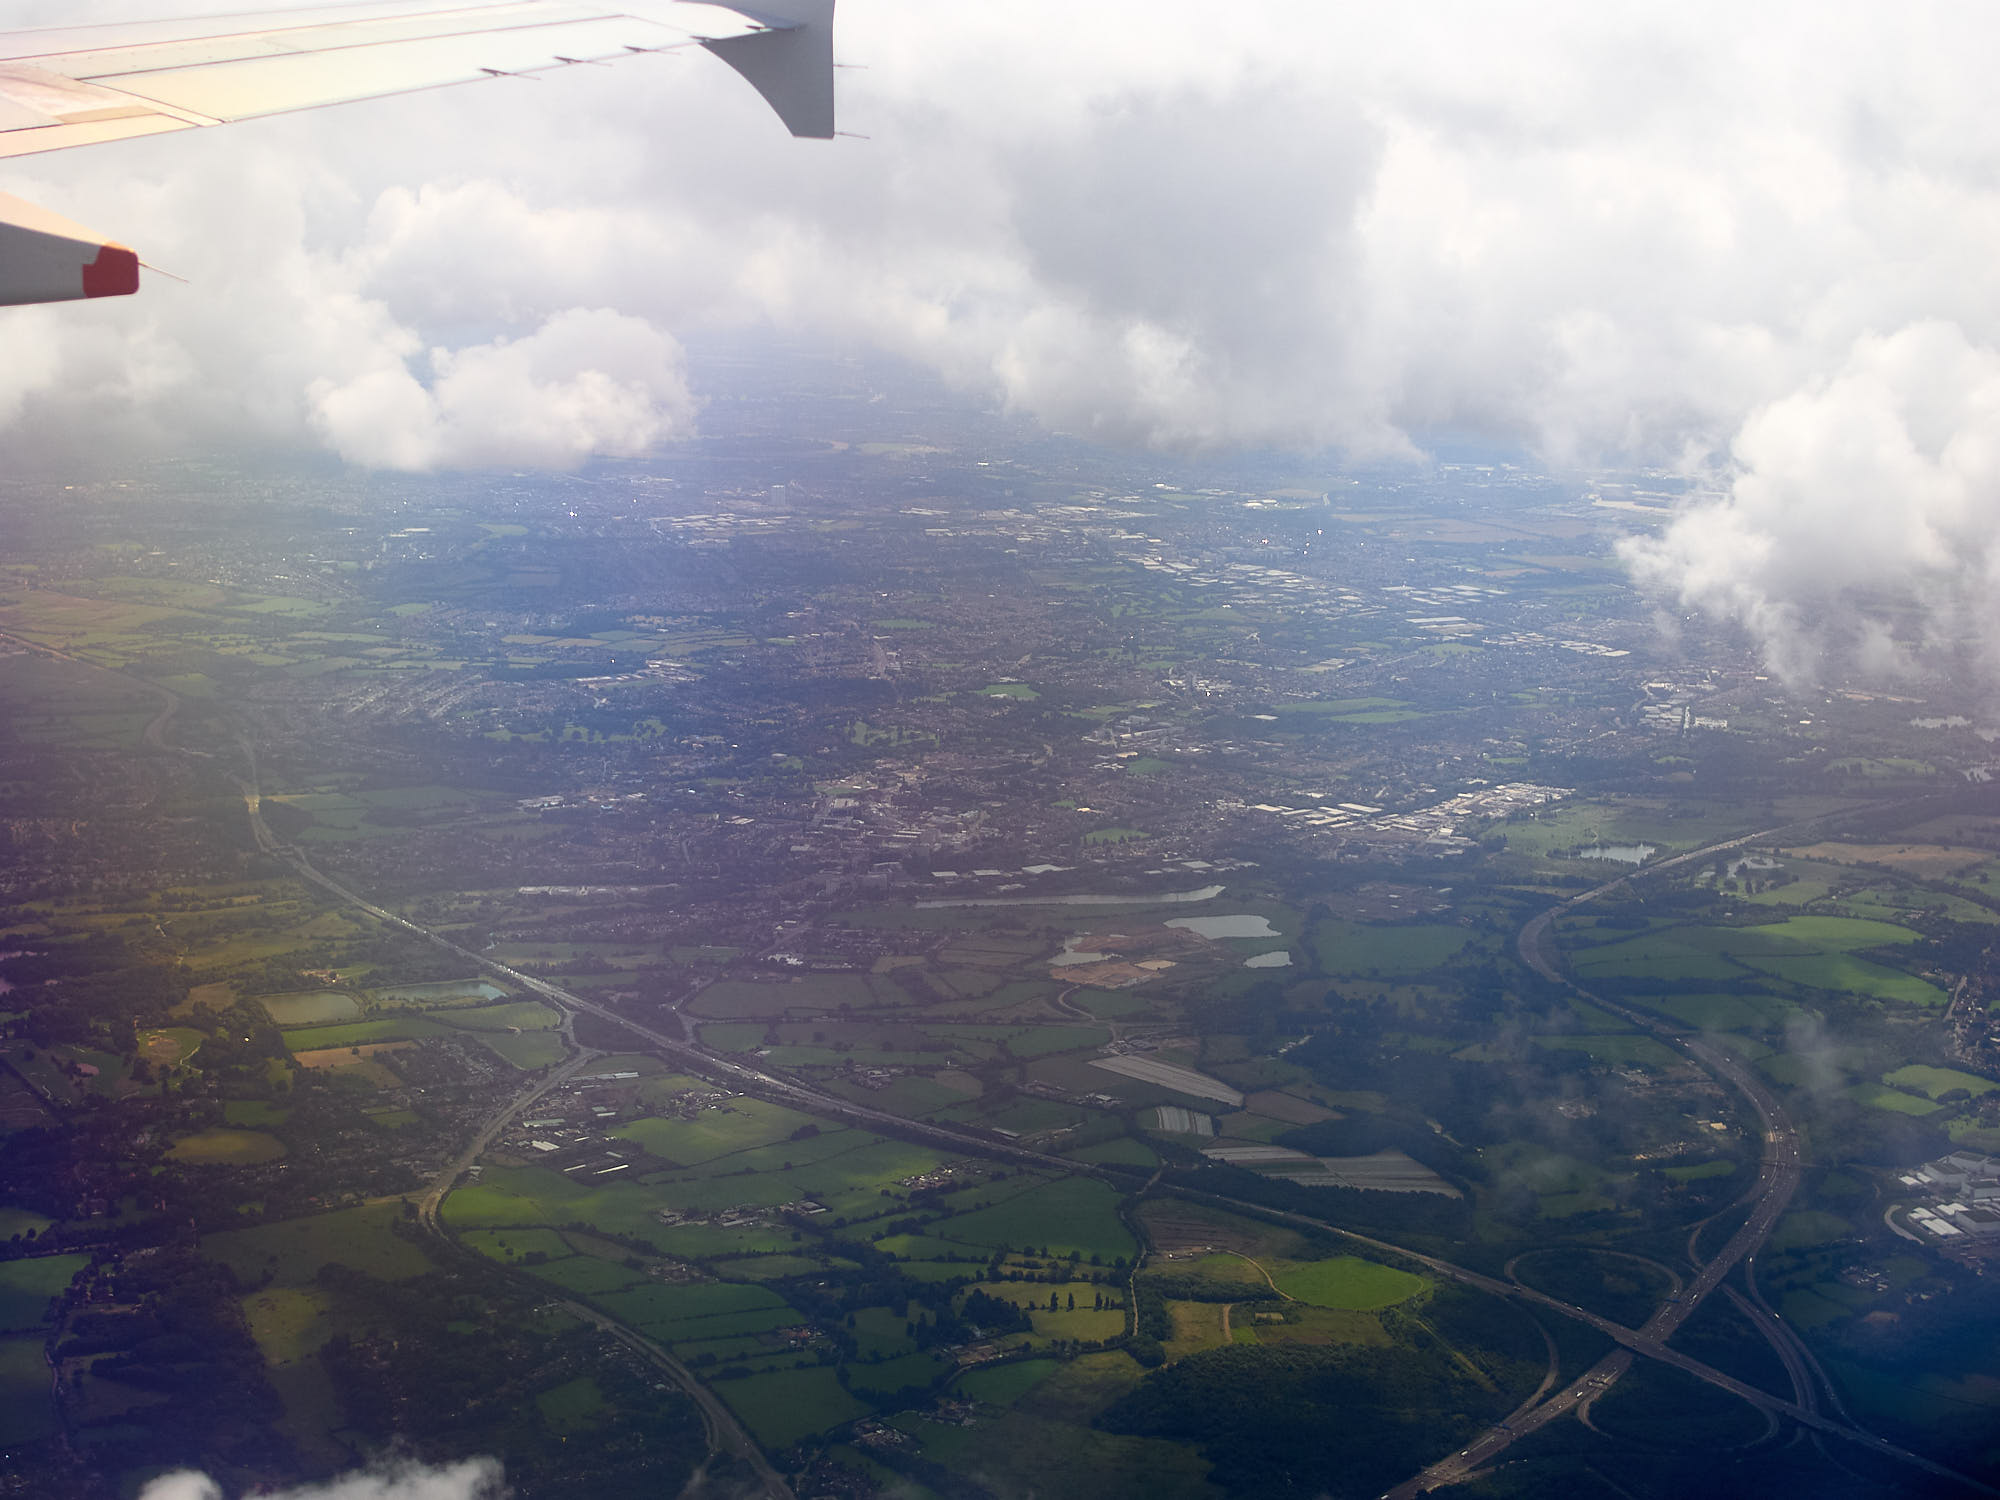
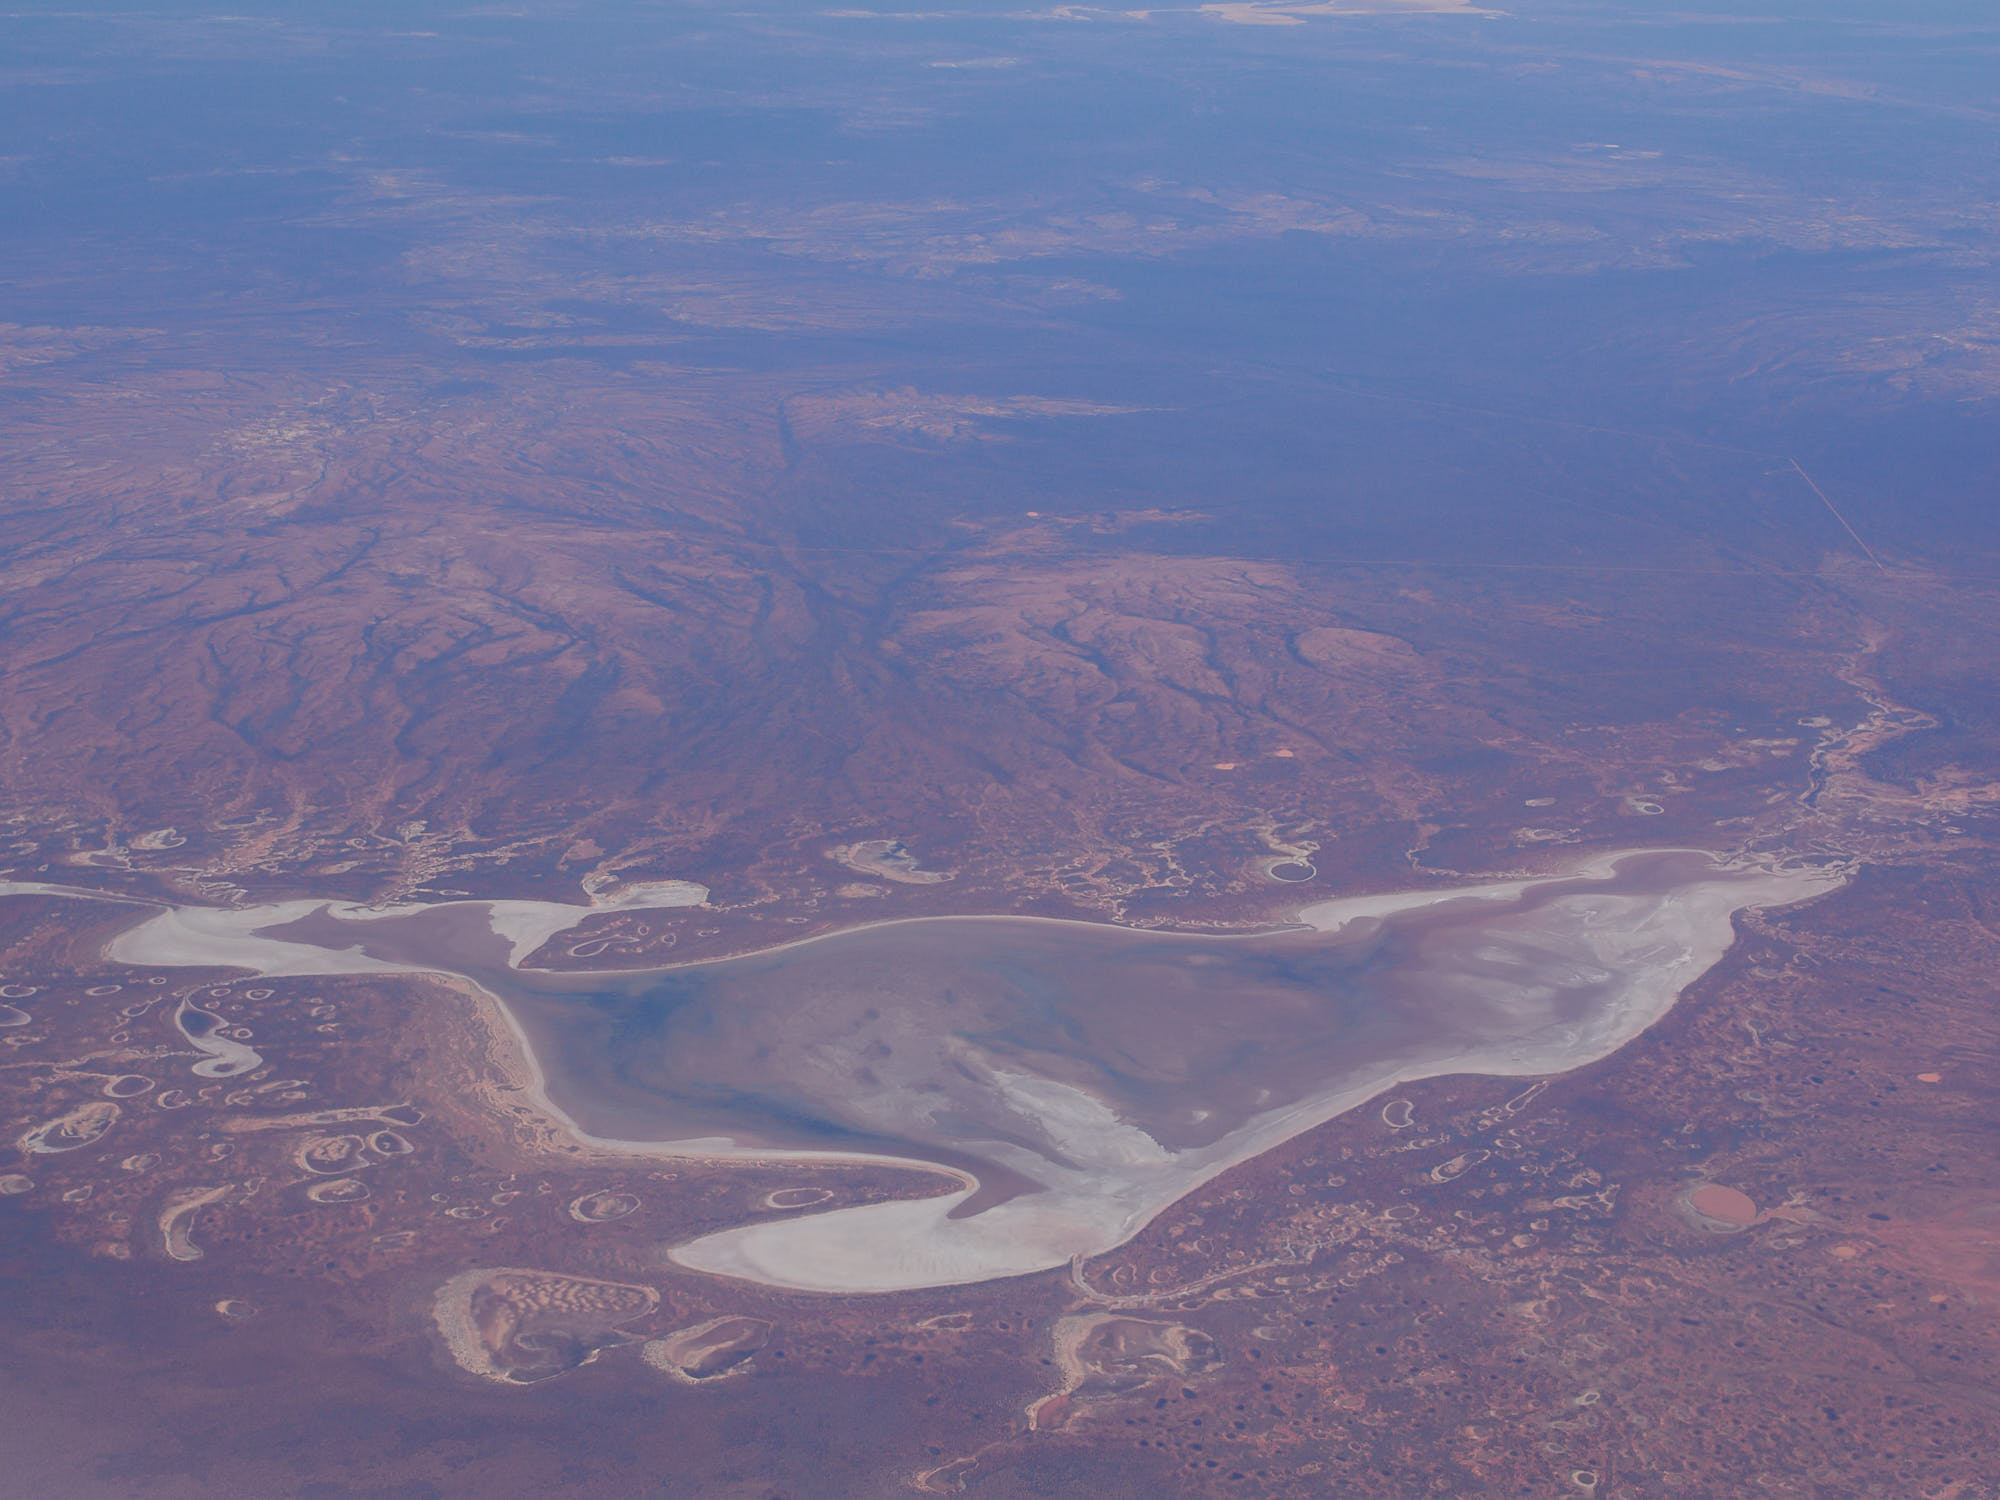
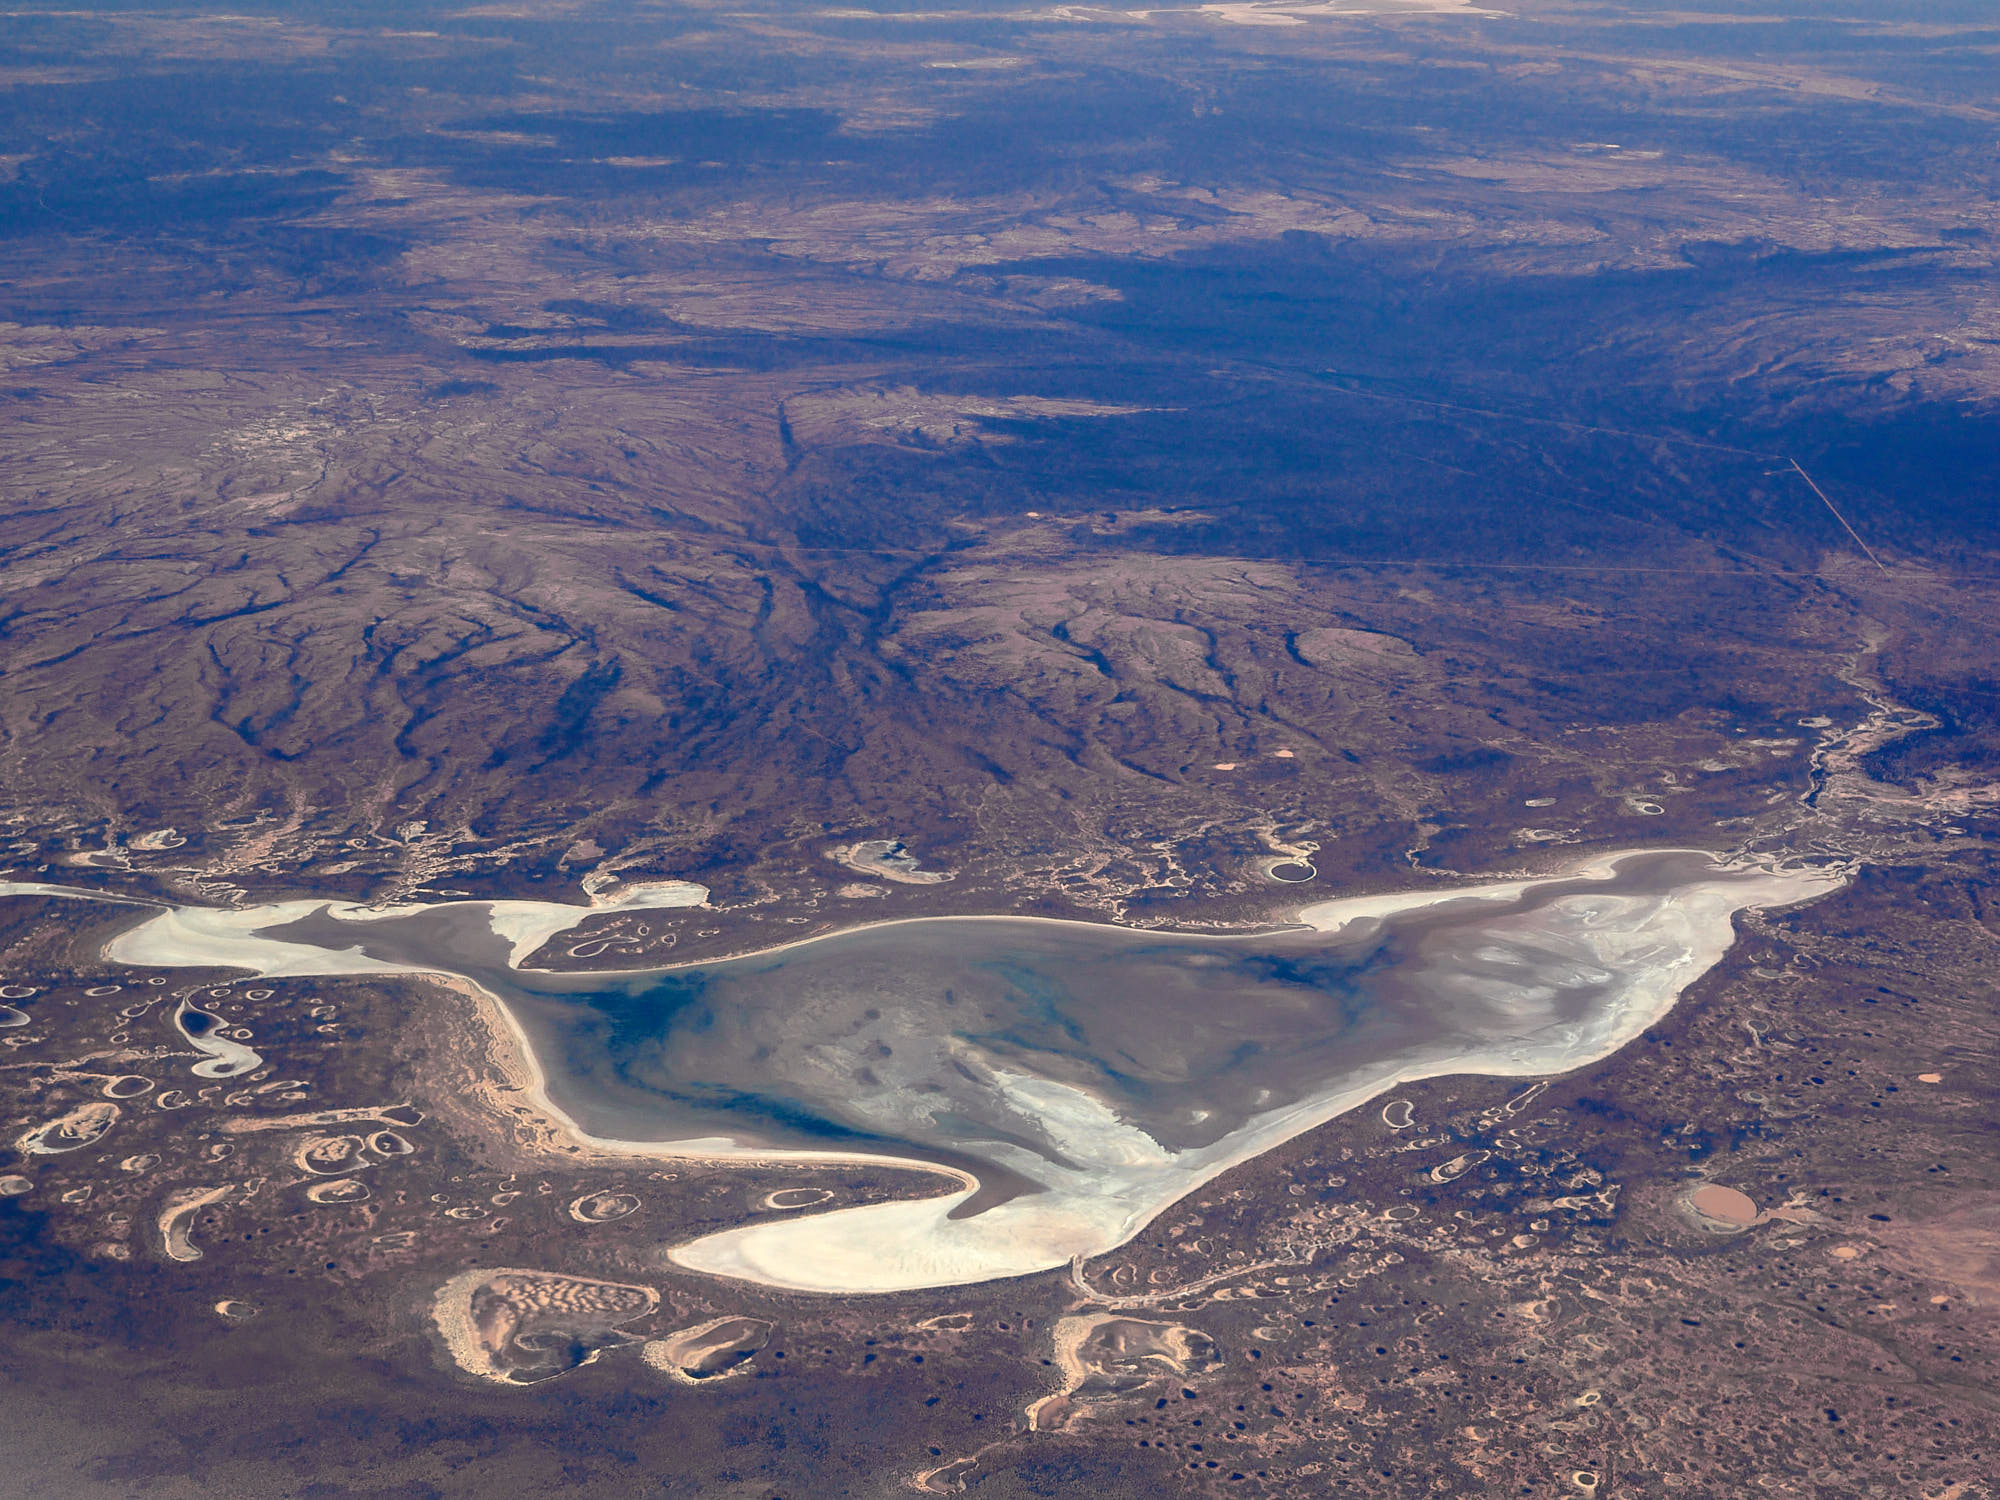
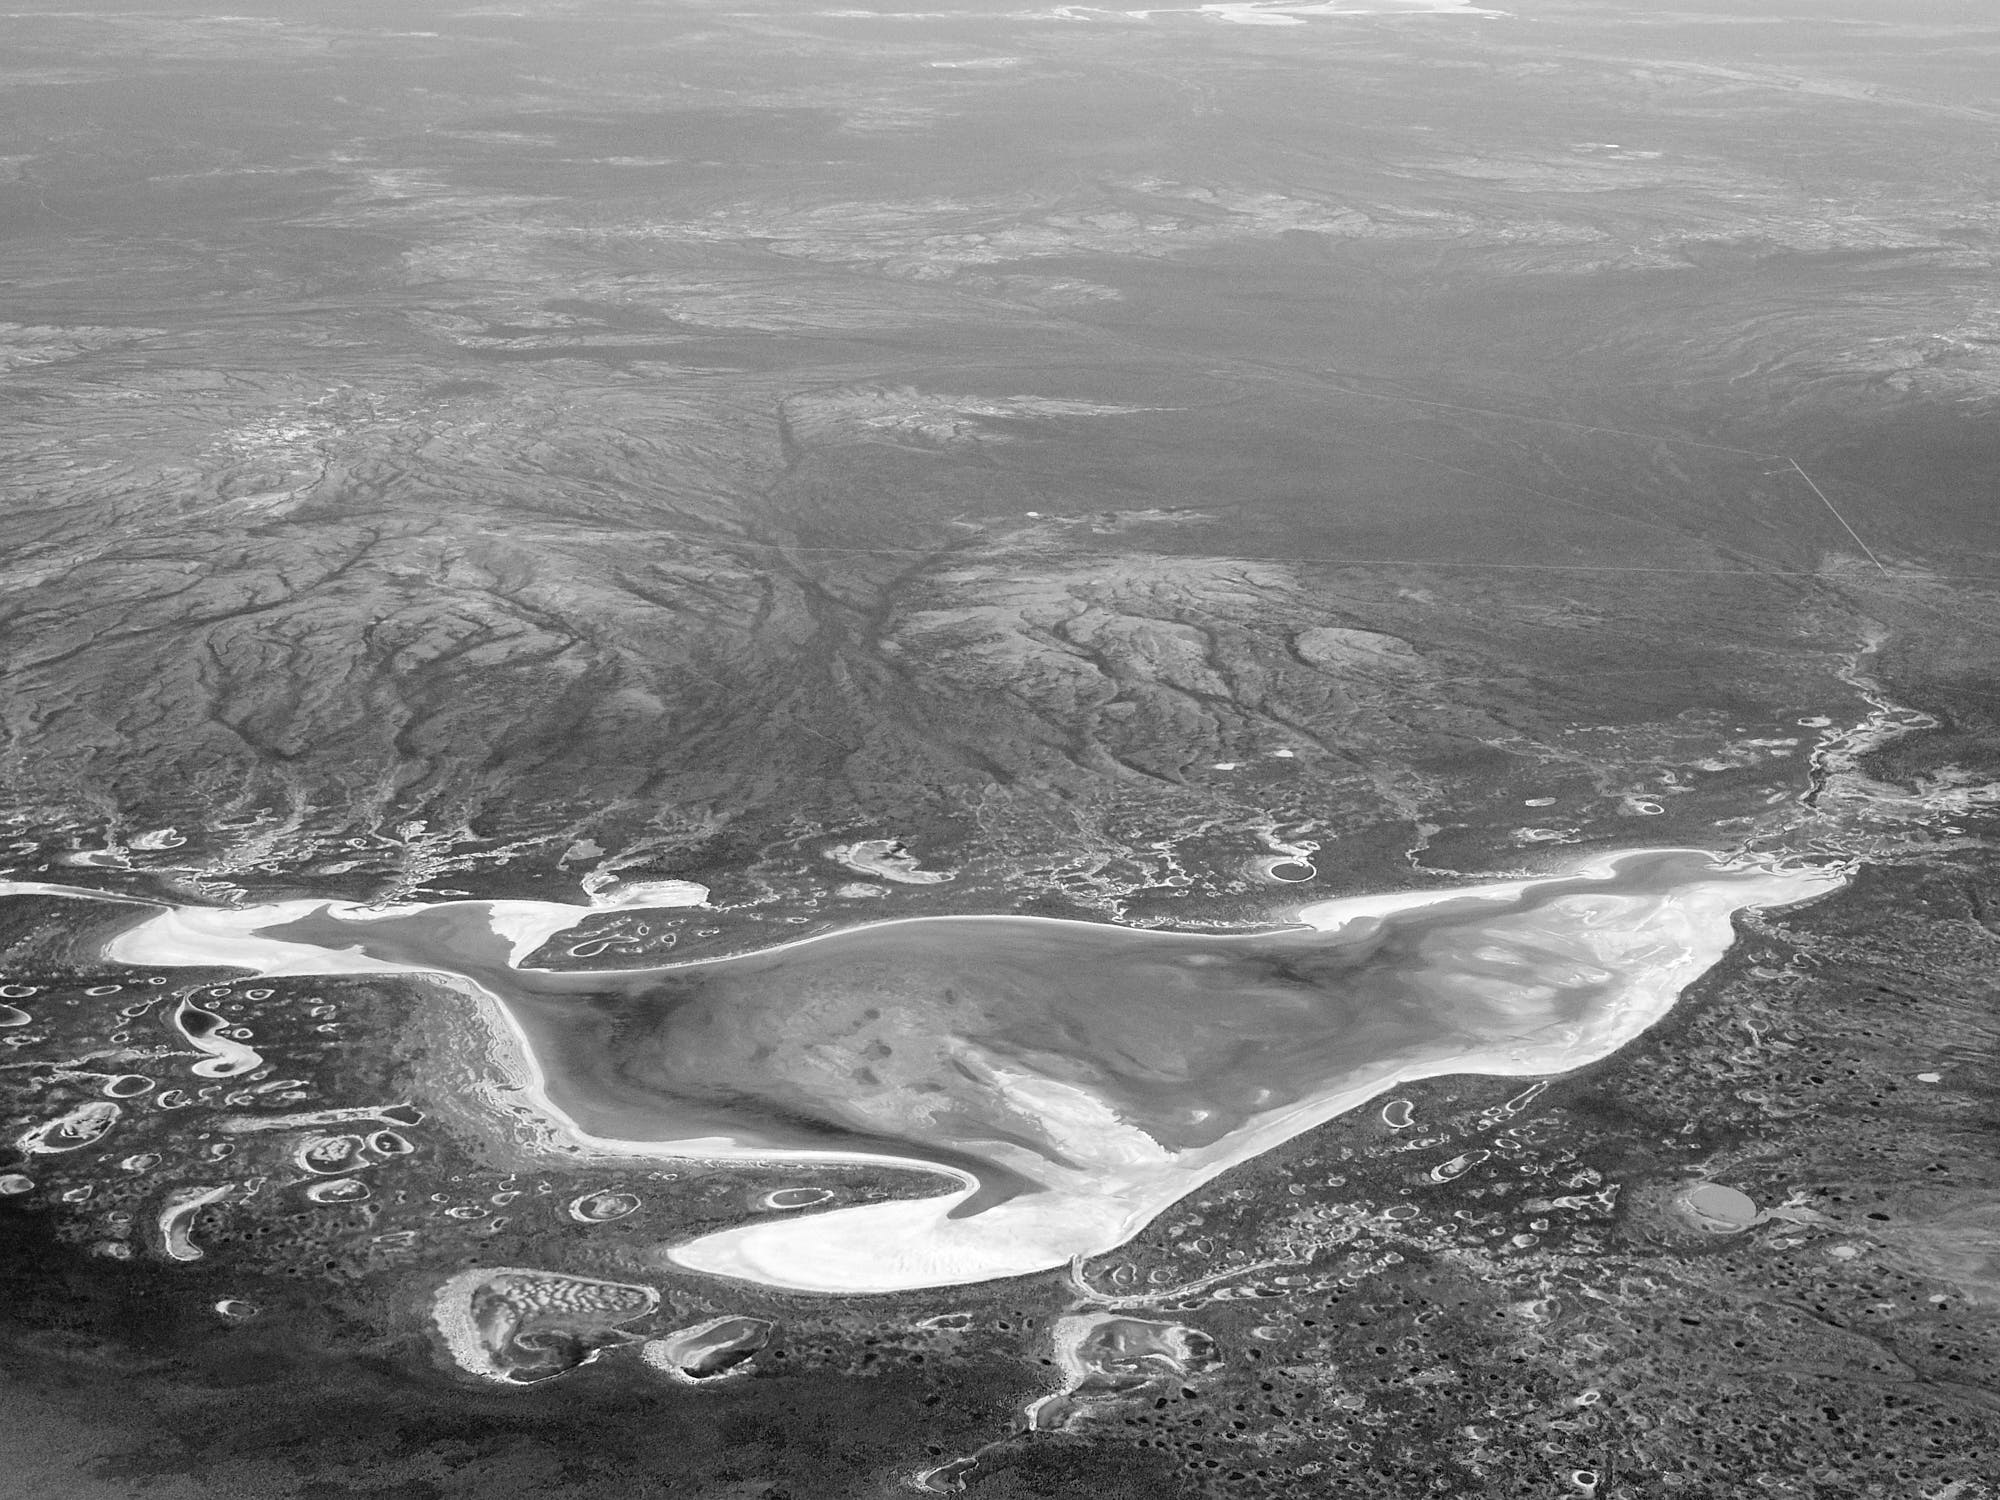
When I transferred this web page from WordPress to Quarto I produced new versions of the photographs were edited and converted to JPEG from the same RAW files. In addition, I replaced the successful example photographs displayed previously at the top of this page with to links to albums at Flickr. I added an item about the colour casts introduced by tinted-glass windows.
When travelling by train, bus or aeroplane we frequently see views that would make great photographs. In this post I explain some tricks-of-the-trade that hide or attenuate the effects of the optical imperfections of windows. On the other hand I have taken many technically good photographs while travelling by train, bus and aeroplane. I have some examples in albums at Flickr. I have examples of photographs taken through windows in Spain: Andalucía, Finland: Joensuu to Helsinki (Autumn), Finland: Joensuu to Helsinki (Winter), Central Europe: Munich to Bled and of clouds from airplanes.
Dealing with reflections and the usually not very clean windows can be a challenge, as well as fast movement. I describe below some tricks-of-the trade that in many cases make it possible to take technically acceptable photographs through “imperfect” windows.
Difficulties and solutions
Photographing against the sun
Avoid strong light/sun shining directly onto the window from the outside, if possible. There is not much we can do in this case except using a window on the opposite side of the vehicle.
Reflections from the inside
Avoid light from shining on the inner side of the window at the site through which you are taking the photograph through. In an emergency we can use one hand as a shade, but the best solution is to use a flexible lens hood made of black rubber that can safely sit against the window, even allowing some angular movement. These lens hoods are available as screw-in accessories that are attached to the same thread on the lens rim as filters.
Polariser filters
The use of polariser filters to control reflections is problematic, especially in aeroplanes as the windows may have coatings that generate colourful optical artefacts in combination with such filters. If the reflections originate from artificial lamps, the filter will be anyway ineffective in suppressing them. Many polarisers absorb a significant amount of light, which can be an additional problem when we are in fast moving vehicles.
Diaphragm aperture (f-setting)
To make invisible the dirt, small scratches and on aeroplanes also the small ice crystals that frequently accumulate, we need to make sure that they are completely out-of-focus. Keeping the camera objective as close as possible to the window, and using a large aperture (i.e. f/1.2 to f/1.8) is very effective. If the window is dirty, overall contrast can decrease significantly, but this can be corrected when editing the photographs. The effect is similar to that of haze if the aperture is large, but much worse if the aperture is smaller (f/9.0 in this example).
Shutter speed
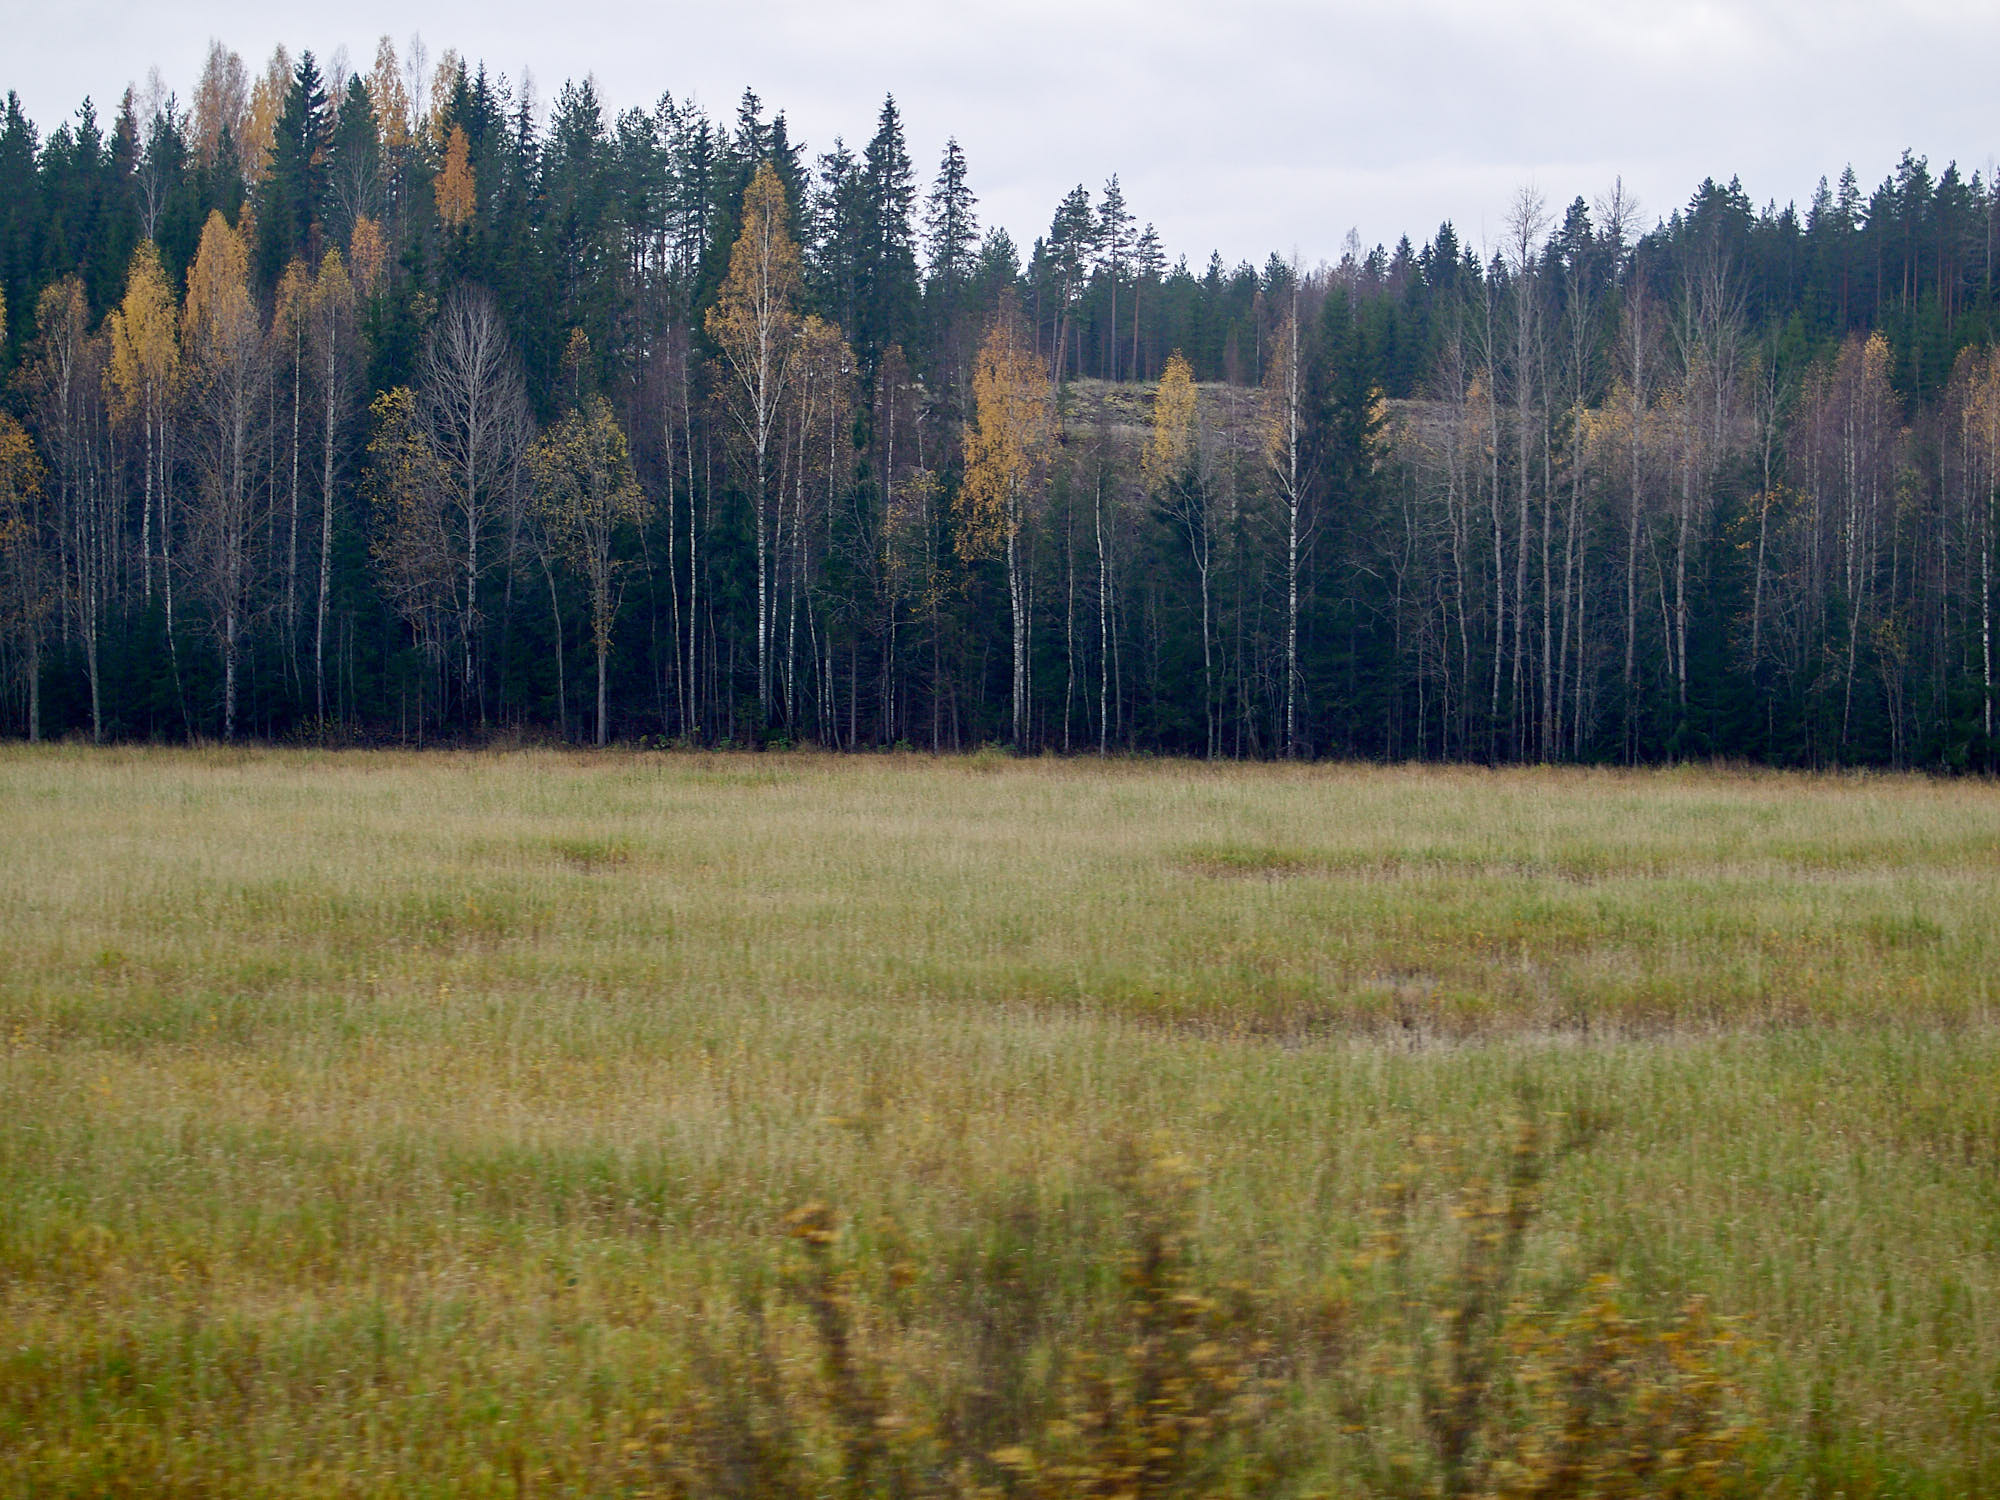
To stop the movement when travelling at fast speed by train or bus, use fast shutter speeds (i.e. 1/1000 s to 1/15000 s) and avoid including in the picture objects that are less than a few tens of meters away. This example shows motion blur not only in the bush near the railway track but also rather far back into the field, while the trees at the back are sharp. The weather was cloudy and hazy and I had to use a shutter speed of 1/640 s, and aperture f/1.8 as I wanted to keep ISO at a low value.
Electronic shutter
To avoid distortion, do not use a “silent” electronic shutter with fast moving subjects unless the camera has very fast or “global” sensor readout. It would seem reasonable to use the “silent”-shutter setting to avoid disturbing other passengers, but with many cameras its use will not result in usable pictures in fast moving trains or buses. When using electronic shutters, with common technology, capturing one frame takes a significant amount of time, much longer than when using a mechanical shutter. If movement is very fast some small distortion can occur even with mechanical focal-plane shutters as used in cameras with interchangeable objectives. The shape of the distortion will depend on whether the camera is held in landscape or portrait orientation, and whether the shutter curtain travels vertically or horizontally.
I seem to have deleted all photographs showing this problem.
Colour casts and haze
Colour casts from tinted glass windows are usually towards green. In aeroplanes, cars, buses and trains, many times the colour of windows is pale enough that we do not notice it from inside unless a window can be opened to have a reference of the real colours (our visual system is very good at compensating for colour casts in illumination). However, even mildly tinted glass can introduce visibly “wrong” colour casts that cameras’ automatic white balance cannot compensate for. From aeroplanes, even though windows made of polycarbonate usually block all UV radiation, distant views can have a blue colour cast introduced by light scattering in the atmosphere. Sometimes other colour casts can be introduced by dust. Very rarely can we have a white or grey reference to adjust the white balance when travelling in a vehicle, so if possible, capture raw files and manually white balance the images by sight with photo editing software. Sometimes, conditions are such that taking good photographs through windows is specially challenging.
Good outcomes are possible
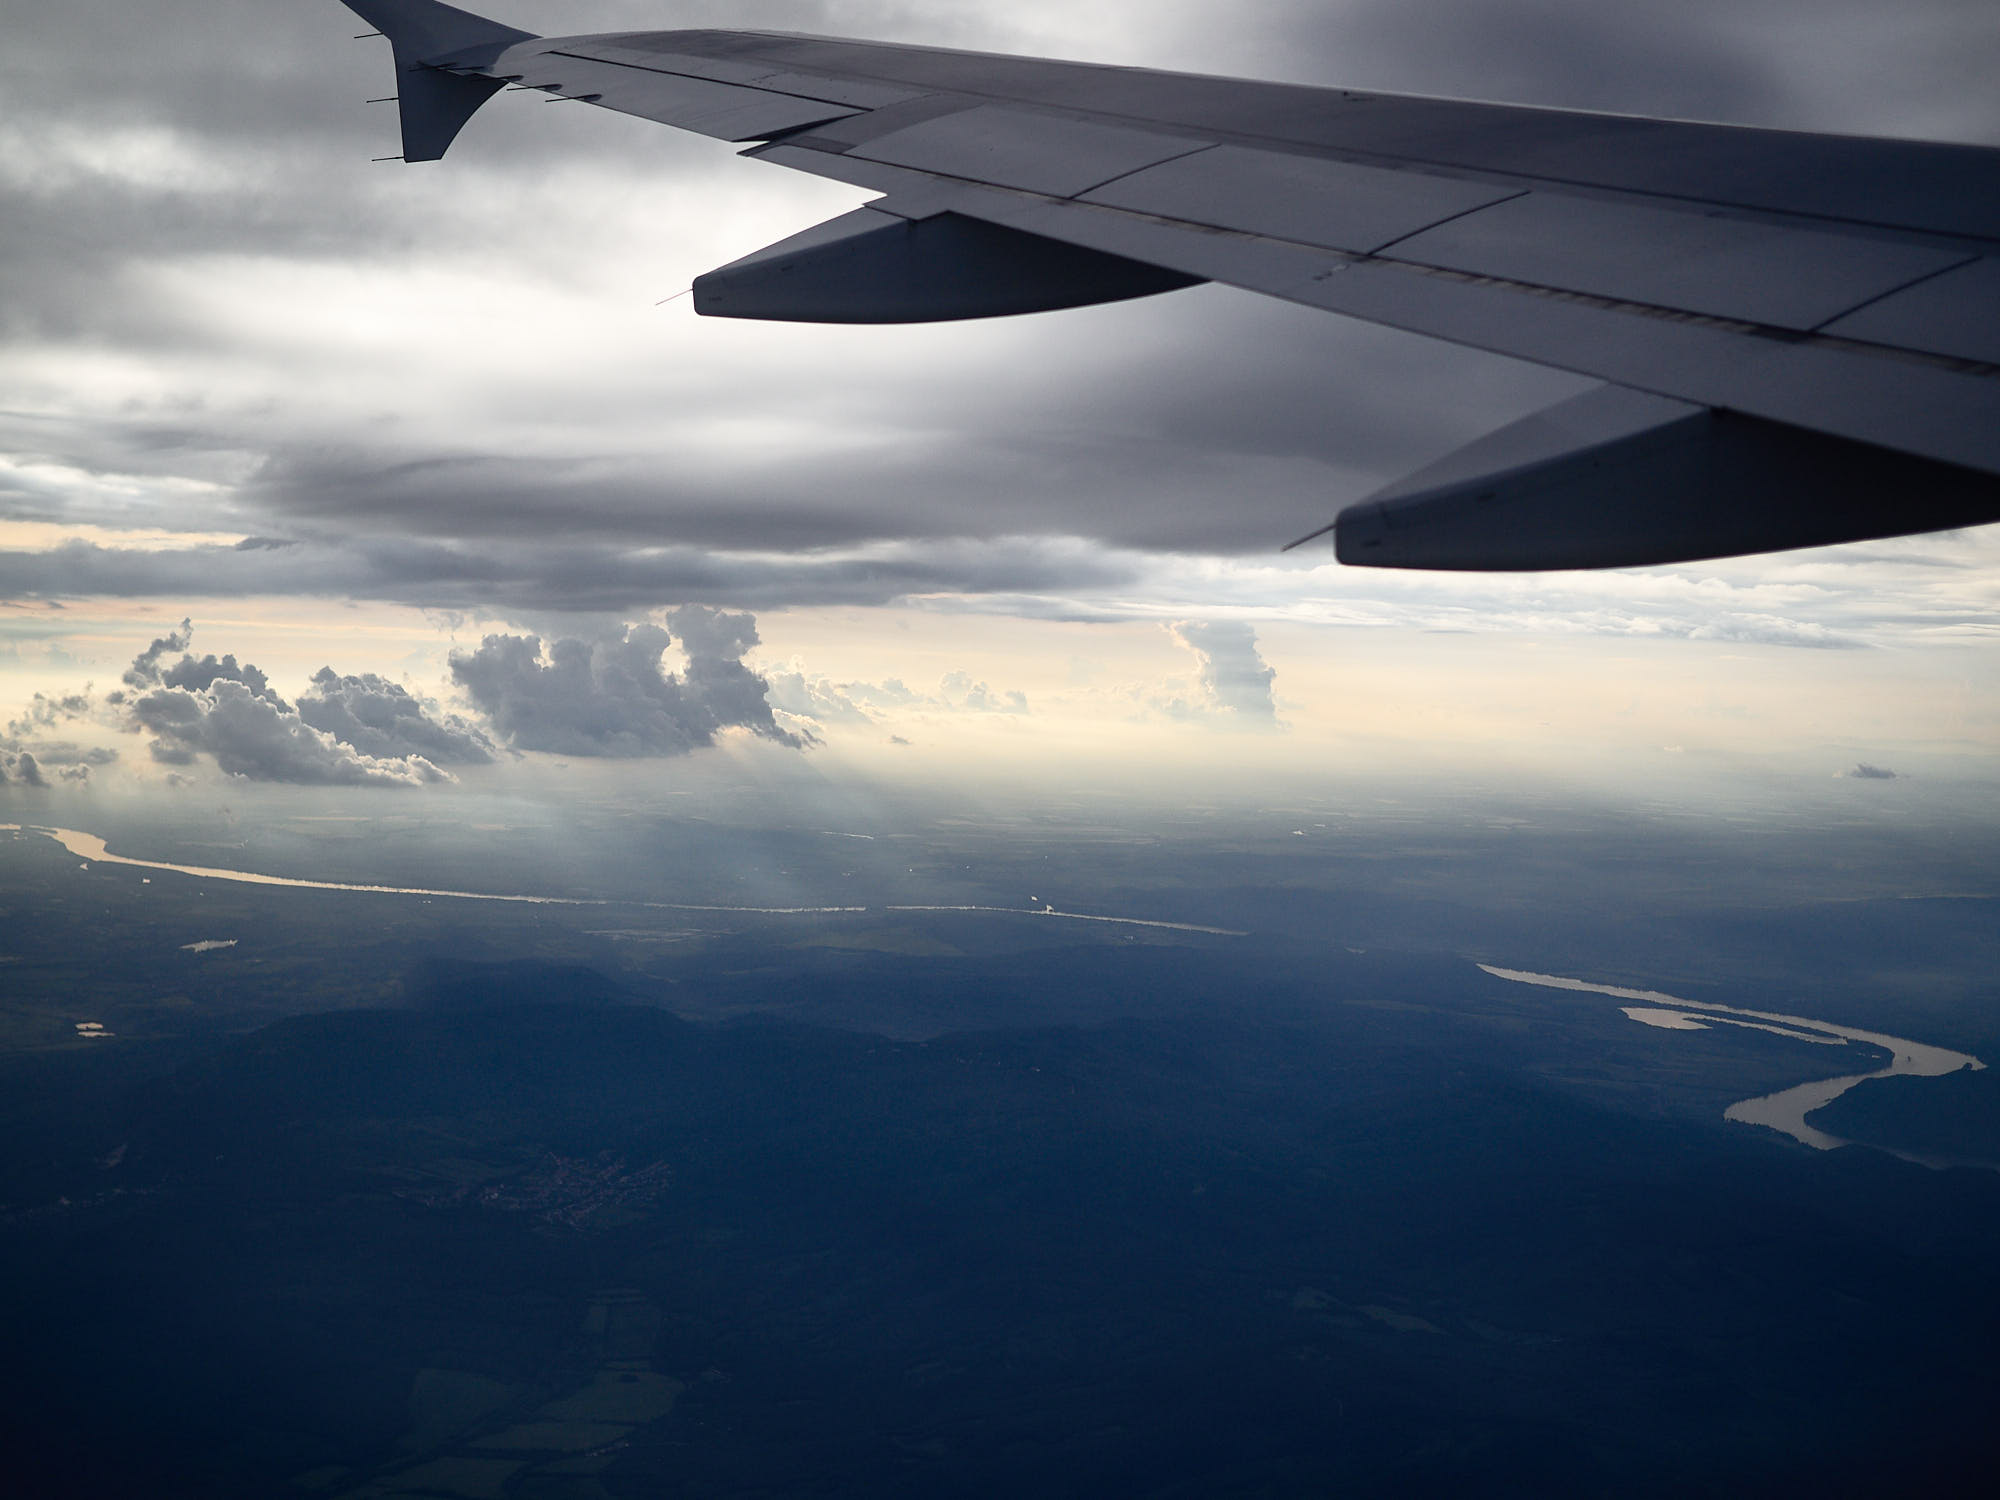
Two pictures taken on the same flight through the same window using the same camera and objective as for the three “bad” ones shown above (aperture f/2.0 for the two pictures below).
Camera: Olympus E-M1 (Mk I); objectives: M.Zuiko 17 mm f/1.8, M.Zuiko 25 mm f/1.8, Sigma 30 mm f/1.4 DC DN. No filters were used on the objective, except in the example with the polariser. I used either my hand as shade or a rubber lens hood from B+W. The widest of these objectives, the 17 mm M.Zuiko is equivalent to a 34 mm objective on a full-frame camera, in other words a moderate wide angle lens.
Tools
The most important accessory for taking pictures through windows, a black-rubber collapsible lens hood of high quality, costs less than 20 €. You need to buy one matching the filter thread size of the objective(s) you will use, and be aware that with wide angle objectives some generic lens hoods may cause vignetting. The one shown here is from B+W, a well-know German brand. This lens hood is stiff enough and does not collapse too easily when resting it against a window. I have many years ago successfully used a similar lens hood from Hama. Some other similar, usually much cheaper, lens hoods have thinner and softer walls and collapse more easily, making them unsuitable for this particular purpose.
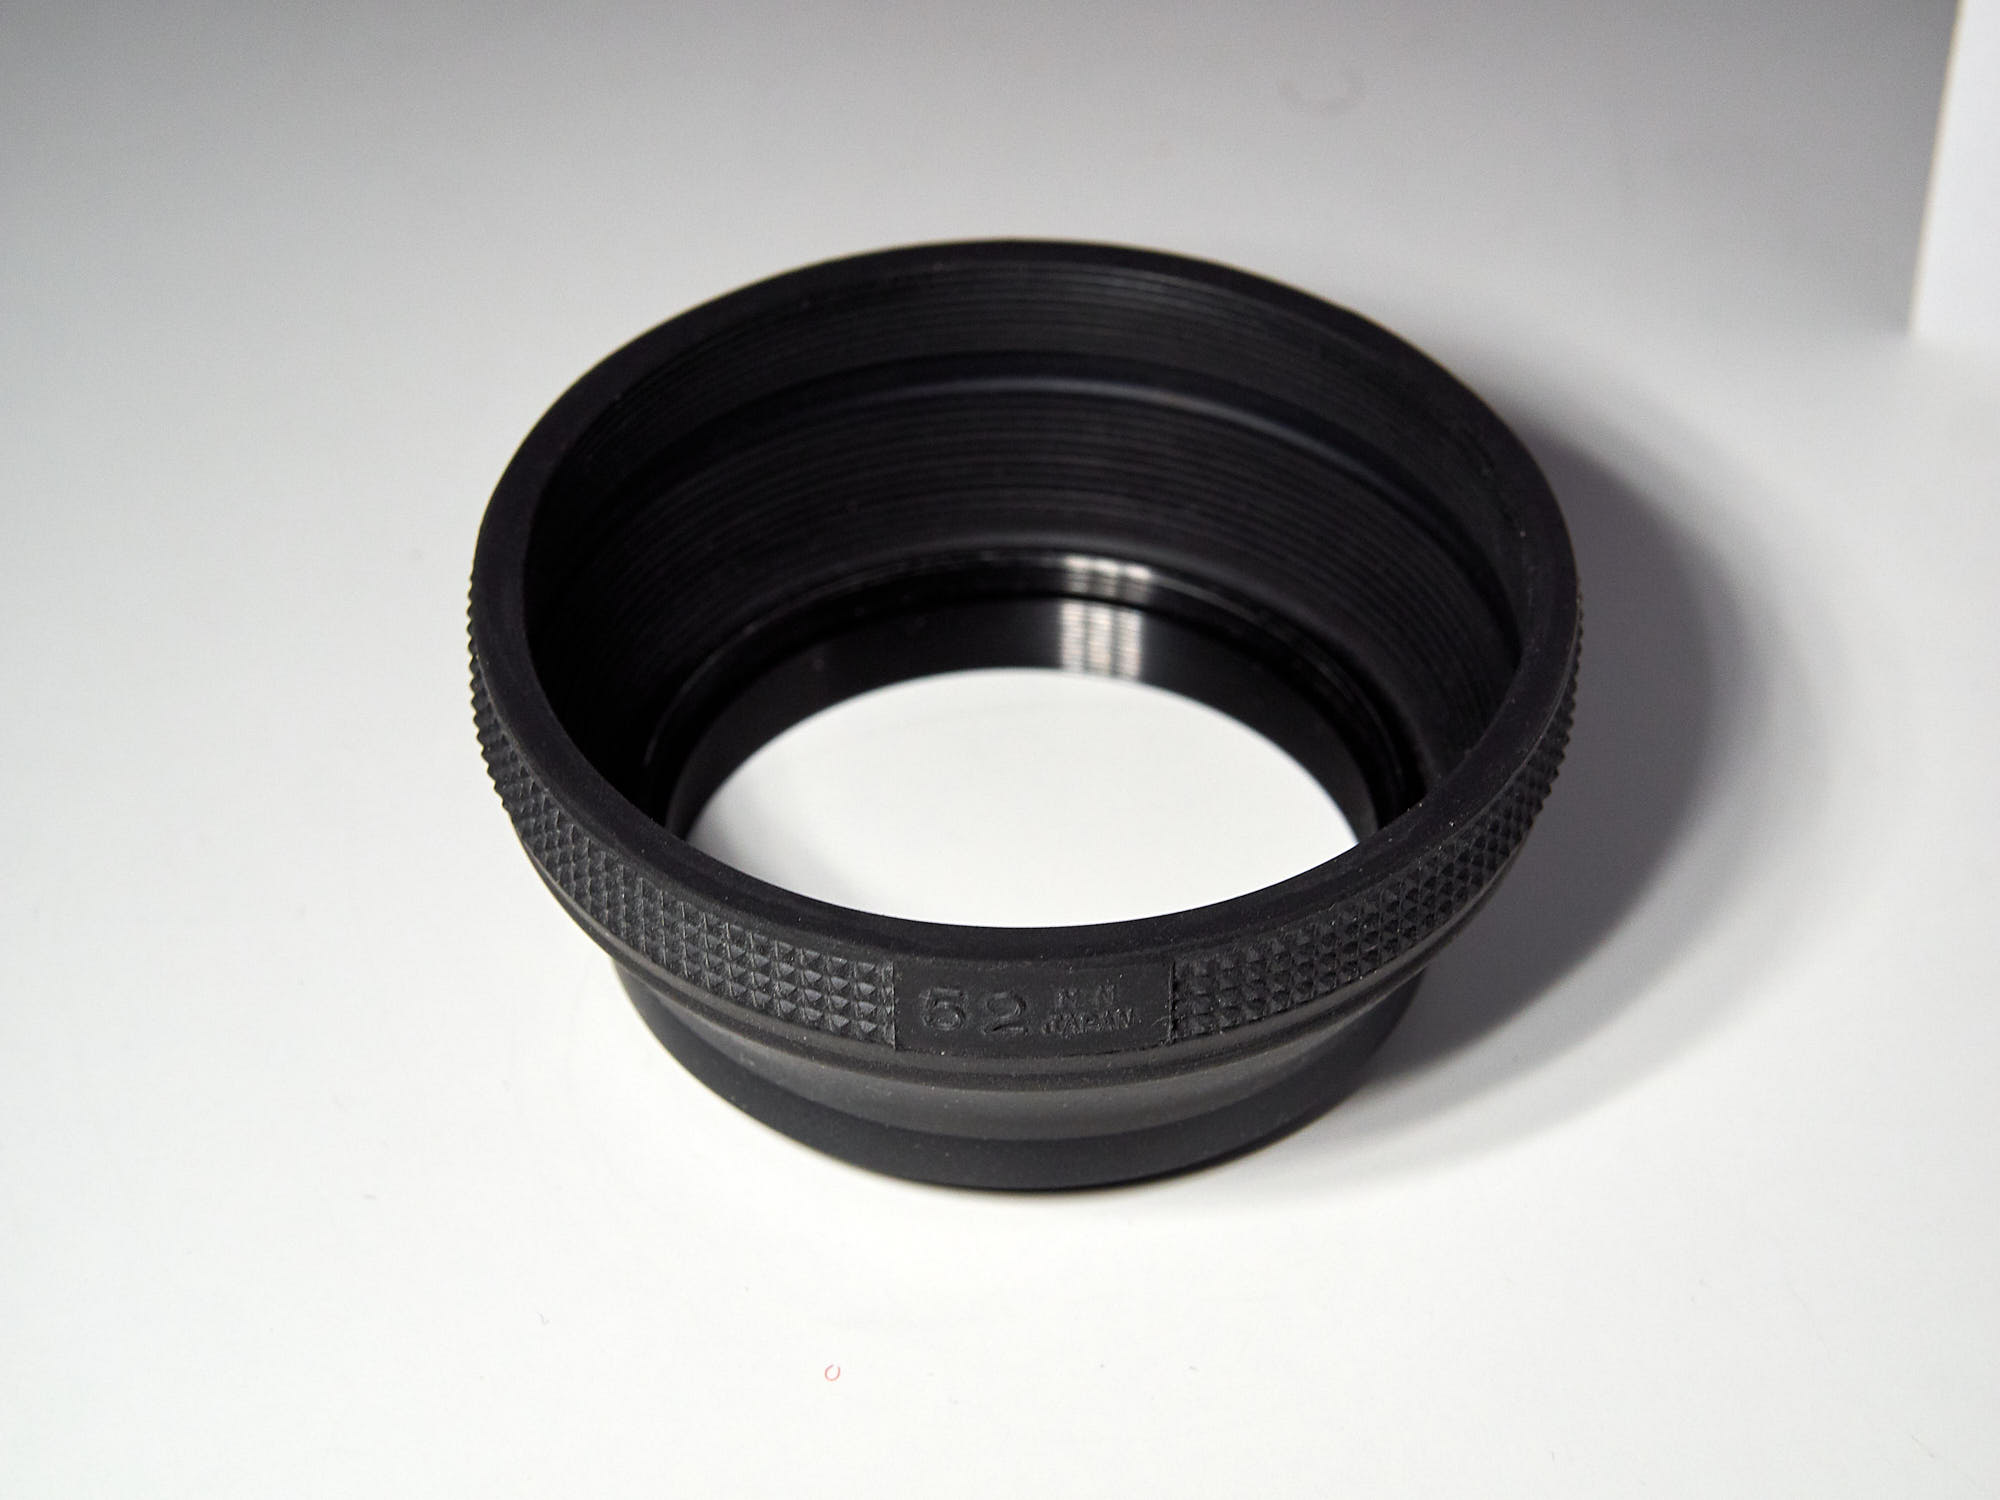

After I wrote this page some years ago, a new type of oversized silicone rubber lens hoods became available. They allow more freedom of movement and are more effective than the lens hood shown in this page at preventing reflections as they shade a larger area of the window. Although the hints given in this page remain all valid, these oversized lend hoods specifically designed for taking photographs through windows are worthwhile considering. The ones I prefer cost less than the B+W one shown above. They are larger so not as easy to carry as they do not fit in a shirt pocket. I wrote a page about these oversized lens hoods that I current use instead of the small one shown here.
